
Need some advice on choosing a live streaming camera that is best for you? One of the first steps toward doing a broadcast is selecting a video source, often times a video camera.
There are a lot of camera options out there, and different ways to connect them to your encoder as well. Not only that but prices can range pretty dramatically, with some being around $80 while others can get into the thousands. Plus, some might be confused about capture cards, like why or when do they need them as part of their overall workflow.
This article, and accompanying video, aim to demystify this a bit. Aiding you in learning a few tricks of the trade so that you can better navigate choosing a camera for your next live streaming project. Also, be sure to check out our Video Studio Recommendations guide as well to help you create your video studio with your live streaming camera.
- Video: fundamentals of live streaming cameras
- USB cameras
- Analog cameras
- HDMI cameras
- SDI cameras
- DSLR cameras
- Optical versus digital zoom
Video: fundamentals of live streaming cameras
The video, filmed with Creative Live and IBM Watson Media (then known as Ustream), walks through the basics of camera types and then connecting them to an encoder. In this case, the Ustream Producer encoder is highlighted, although the interface is similar to Telestream’s Wirecast.
That said, if text is more your speed, below are some of the points from the video expanded upon. The first aspect we’ll tackle are different types of cameras, which include USB, Analog, HDMI and SDI.
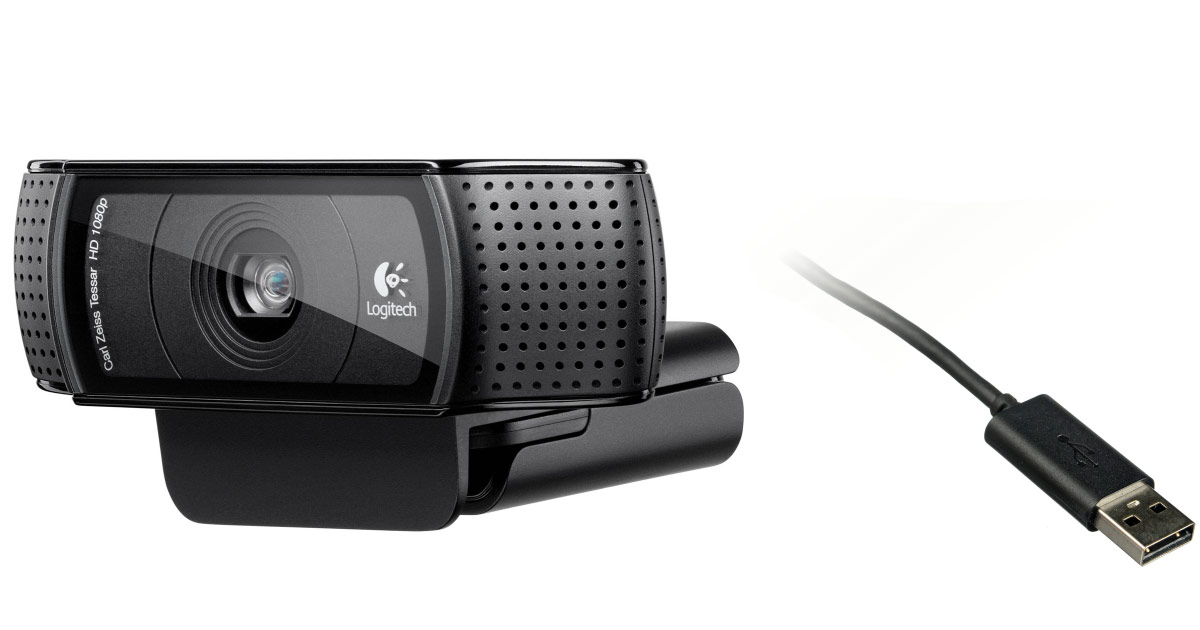
USB cameras
In terms of ease of use, USB cameras have an inherent advantage over other types of live streaming. They don’t need capture cards, and can easily plug directly into a computer, which can be running a software based encoder. They are generally affordable as well, making them a good entry level camera for those who are just getting started.
[pictured: Logitech webcam series]
Pros:
- Low cost
- Minimal setup
- Can connect directly to most computers, without the need for a capture card
- Usually no additional power source, from batteries to AC power, is required
Cons:
- Typically lack zoom, manual focus, iris, white balance and gain controls required for more precise shots
- No ability to upgrade lenses
- No ability to record locally
- No ability to input professional audio and pass through to encoder
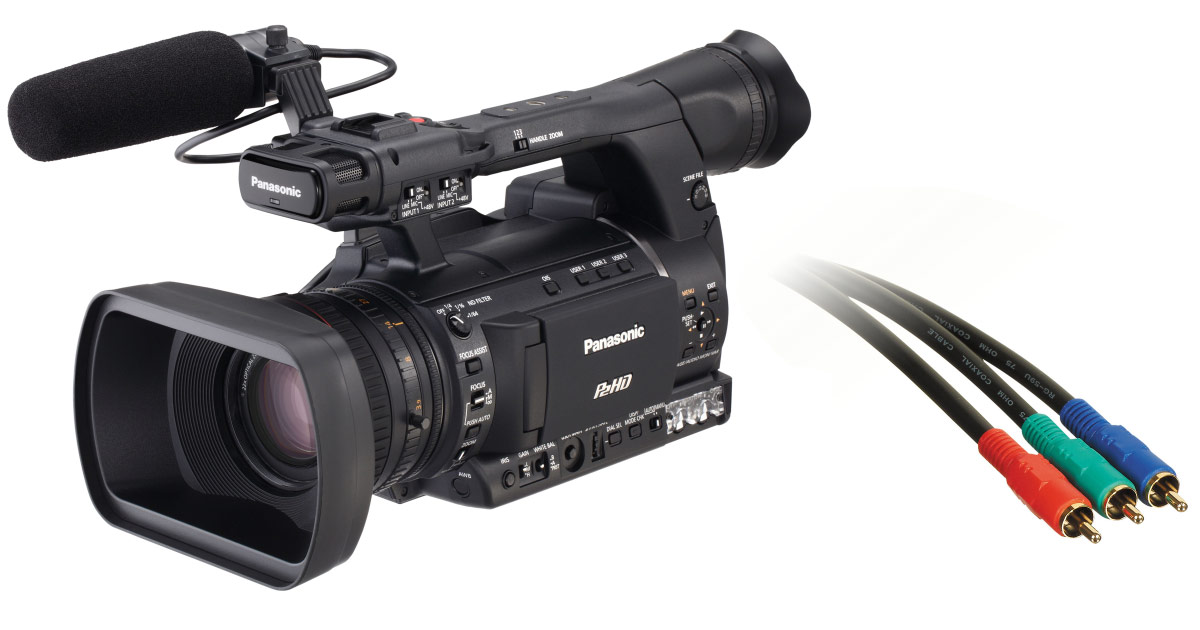
Analog cameras (component/composite)
Some of the earliest camcorders were analog based, recording analog signals onto videotape cassettes. For those new to broadcasting, but who are familiar with analog from home video technology, chances are they are familiar with RCA cables. This was three cables: one yellow, one red and one white. This is composite video, where the video signal is being transmitted from a single cable. The alternative is component, which has red, green and blue cables that actually correspond to the color video signals sent. This technology predates digital’s rise to prominence for video, and you’ll need a switcher, capture card or other method to accept the analog connection.
[Pictured: Panasonic P2HD series]
Pros:
- Low cost
- Common connection type
- Easy to source and replace cables and cameras
- Capture cards, switchers and encoders that support analog connections are relatively common
Cons:
- Older analog cameras don’t support HD, only newer cameras
- Not recommended for long cable runs as analog cables can be prone to interference and signal degradation
- Some camera brands have proprietary connectors on the camera, which are not easy to replace and typically you need to connect an additional cable to reach your switcher or encoder
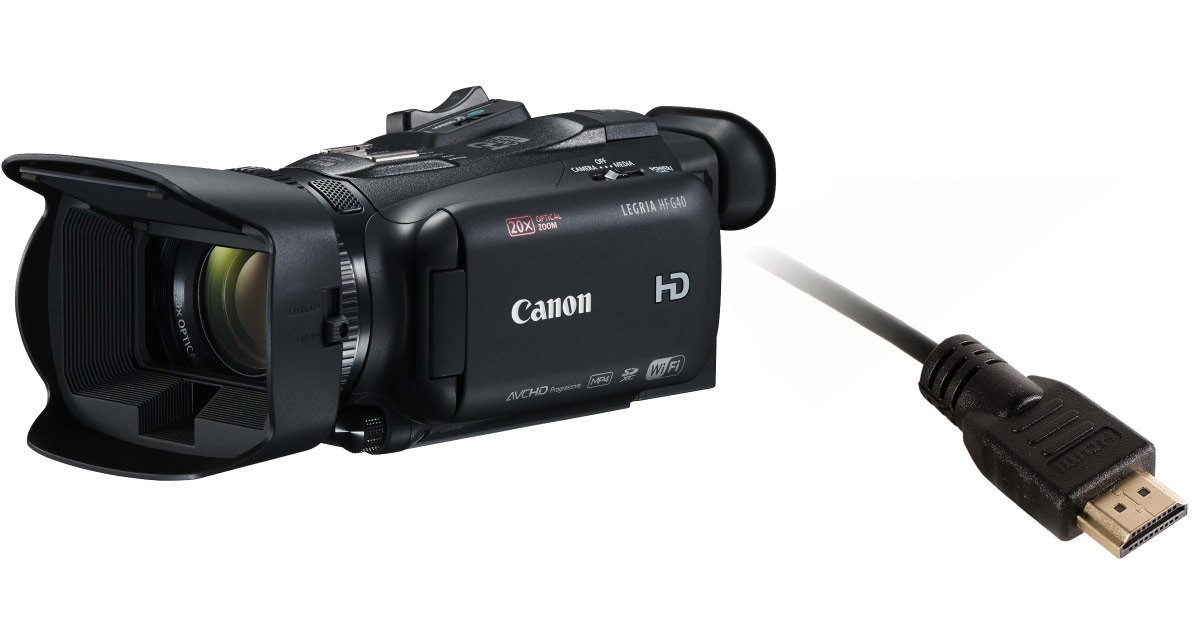
HDMI cameras
Standing for high-definition multimedia interface, HDMI was designed for home theater systems as an answer to the growing desire for a shift to HD. Naturally, this has slowly gravitated toward video camera technology as well. As a result, a wide range of options are available, some of which are quite affordable as well.
[Pictured: Canon VIXIA series]
Pros:
- Diverse range of options, from affordable entry-level camcorders to professional, full-featured cameras
- Widely available making it easier to purchase
- Easy to convert to SDI to broaden capture and encoder options
- Some laptops have built-in HDMI ports
Cons:
- Might have to convert to SDI for compatibility with some switches and encoders
- Cables do lock, with the hazard of getting disconnected if accidentally pulled
- Cannot run HDMI cables as long as SDI cables
- Some consumer-level HDMI connections have built in copy protection which will prevent signal transfer
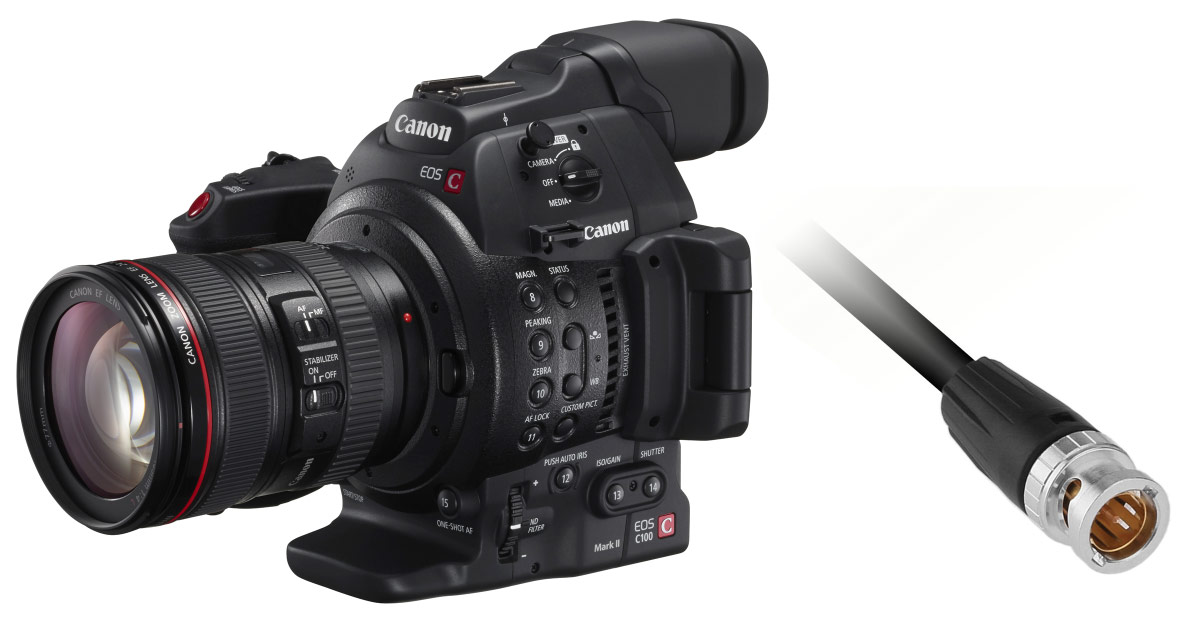
SDI cameras
Short for Serial Digital Interface, SDI first came on the scene in 1989 for digital video interfaces. It became a popular solution for live presentations, and has some notable advantages like locking cables and the ability to run longer wiring compared to HDMI.
If going the SDI route, one is likely to see several abbreviations related to it as well. This includes SD-SDI and HD-SDI. As the names might imply, these are thinning at the possible video resolutions, i.e. standard and high definition. In this case, SD-SDI is capable of 270 Mb/s bit rate while HD-SDI is capable of much higher interface of over 1 Gb/s. Later SDI “generations” abandoned this approach and went with a number system that include 3G-SDI, 6G-SDI and more. These directly related to the interface, so 3G-SDI would be 3 Gb/s and 6G-SDI would similarly be 6 Gb/s. When choosing a camera, HD-SDI or 3G-SDI should be sufficient. The caveat to that statement is if the broadcaster wants to do 4K streaming, which would favor 3G-SDI and higher.
Note that some cameras have multiple outputs. This is sometimes dependent on the model. For example, the Canon XA30 has an HDMI output, while the Canon XA35 has both HD-SDI and HDMI outputs.
[Pictured: Canon C100 series]
Pros:
- Can do the longest cable runs
- Locking connectors
- Common connection type for capture cards and encoders
- Support for HD or 4K with HD-SDI and 3G-SDI respectively
Cons:
- Cost
DSLR cameras
DSLR cameras are considered in the same category as HDMI cameras in regards to using them for live video streaming. They need to have a HDMI output from the camera, as well as a capture device or capture card between the camera and your computer. But be aware that there are limitations to using DSLR cameras:
- They do not provide a clean output over their HDMI port
- Many DSLR cameras are not great for streaming because some models use a mirror of what is in the viewfinder, which means your broadcast may include an overlay that reveals settings like battery life, etc. Some DSLR models provide an option to turn off the overlay and provide a true “clean” output over HDMI, but not all, so make sure you should check your specific make and model.
- They offer less audio capabilities than a true live streaming video camera
- Since the built in mic on DSLR cameras are usually low quality, you will want to make sure that the camera you are using can input live audio from an external microphone or audio source and output that audio over the HDMI port.
- Not all DSLR cameras are designed for extended live use
- Some camera models have the tendency to overheat and will automatically shut down if shooting video for extended periods of time, which will be unsuitable for applications where you plan to stream for longer than 2-3 hours.
Optical versus digital zoom
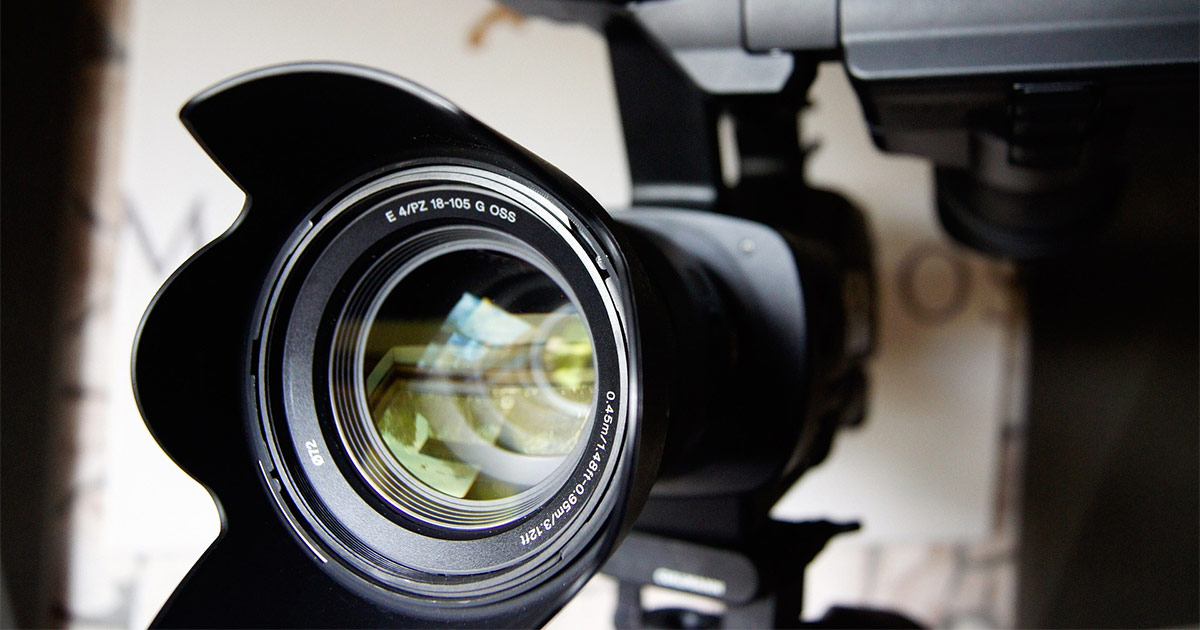
Now that we have covered the types of cameras, let’s go into some specific elements to consider in selecting a live streaming camera. One is in the type of zoom. Now in general zooming during a shot can give a slightly jarring experience to the viewer. As a result, some will frown upon zooming in general. If you have to zoom, though, it’s better to get a camera with an optical zoom. The reason is that a digital zoom literally crops the image to achieve the “zoomed image”. So the quality degrades, the degree to which depends on the original resolution. On the other hand, an optical zoom magnifies an image to fill the entire image sensor and is the optimal method when a broadcaster has to zoom during a production.
Furthermore, cameras will come in different zoom ranges. For example, the Canon XA10 has an optical zoom of x10, while a Canon XA35 has an optical zoom of x20. Just be careful as sometimes cameras will blur the lines between an optical and digital zoom, or even combine the two in order to get a really high zoom range.
Summary
This article should provide a good first step toward choosing a camera. Also, for first time broadcasters, don’t feel intimidated to pick up a USB camera to start with. While it might not have the quality of other options, it does have ease of use going for it and is a cheaper option. As a result, a broadcaster can get their feet wet using this to start before upgrading and investing in another camera if needed. The only caveat is to realize the connection type could change the workflow further down the line.
Want to learn more on the workflow aspect of this topic, or curious about PTZ (Pan Tilt Zoom) cameras? If so, check out this joint webinar from IBM Watson Media and Panasonic on Tools and Techniques to Improve Your Video Quality.
If you need even more live streaming camera advice toward choosing a particular model with IBM Watson Media, please reference this support article.