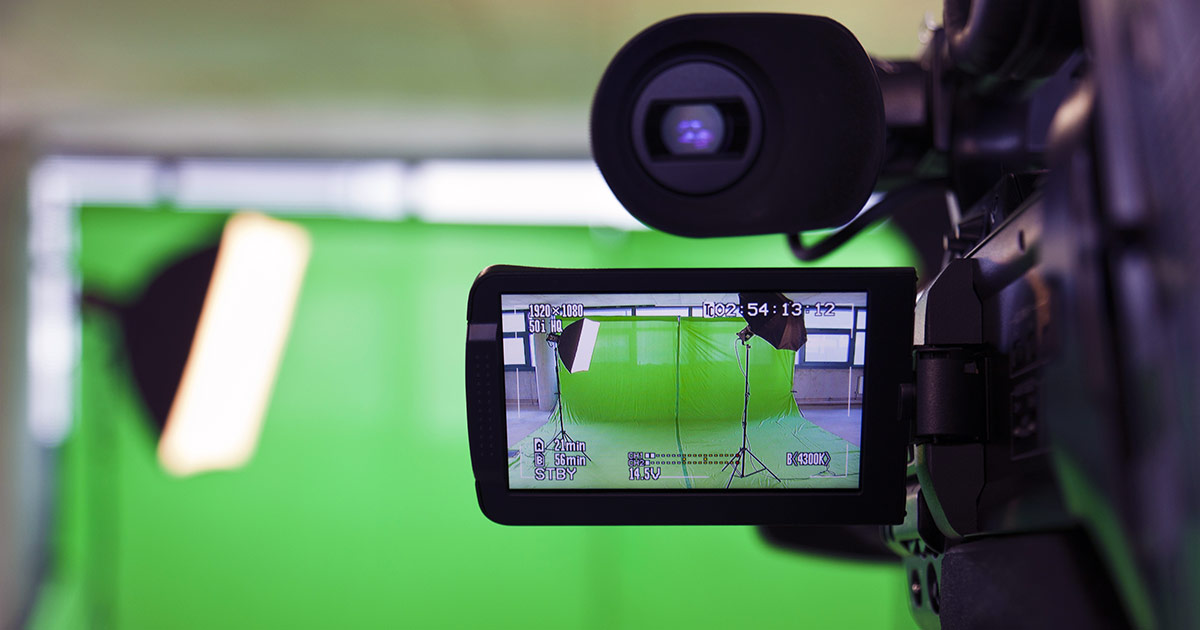
Looking for some tips to perfect your video content? How about 15 streaming tips for live and on-demand content?
This article covers 15 different pieces of advice to improve your live broadcast or on-demand content. There is a larger emphasis for live streaming on this list, as more preparation is involved, although some advice covers aspects after the stream is done that fall into on-demand territory.
If you are a bit more interested in the live studio side of things, it’s recommended to also check out our Video Studio Recommendations white paper. This guide lists not just techniques to use in your studio, but also gives specific gear recommendations from microphones to lighting systems.
- Familiarize yourself with your equipment
- Test early
- Plan around lighting
- Don’t downplay your audio
- Know your upload speed
- Secure a stable connection
- Backup Internet source
- Stay organized
- Promote your live event
- Start your stream early
- Make the live stream interactive
- Utilize a CDN or CDNs to deliver your video
- Prepare for an on-demand version
- Record a local copy
- Create post event highlight clips
#1: Familiarize yourself with your equipment
Get to know your camera, get to know your encoder. You should never be doing a live broadcast with a piece of equipment you aren’t familiar with. Learn the settings, understand the quirks and figure out potential workarounds to produce the type of event you want before your live stream begins. Even if you have used the same brand of encoder or camera before it’s recommended to never open a new piece of equipment right before your broadcast begins. The last thing one wants is to be stuck with a defective piece of hardware right before starting a live stream.
#2: Test early

One of the best pieces of advice is to test early on with as much of the same setup as you plan to utilize for your actual broadcast. This means the same presenter (if valid), same microphone setup, same camera, same lighting, same encoder and same Internet connection as well. This end-to-end pre-check can help to identify something that doesn’t work, for example maybe stronger lighting is needed or maybe the microphone needs to be repositioned as it’s picking up too much background noise.
By testing early, this will hopefully give you enough time to recognize any changes that might be required and be able to act accordingly before the actual broadcast.
#3: Plan around lighting

Come prepared with a lighting solution for your setup. Even the best camera can produce a poor looking live stream if the lighting is inadequate. If you have a controlled environment, try to setup a three point lighting system. This involves one backlight behind the subject along with a fill light and a key light in front of the subject, both shining from the sides. See page 6 of the Video Studio Recommendations white paper for more information on this and suggested gear.
If you don’t have a controlled environment, try to check during your early tests to see if the setup is adequate. Is there too much backlight, casting the subject in the shadows? Too much direct light, washing out details? Recognize these during your testing and look for alternatives, usually shooting from a different angle, to try and overcome them.
#4: Don’t downplay your audio
For those getting their toes wet for their first video shoot, it can be all too easy to focus on the visual elements. Getting the best camera, perfecting the lighting and basically checking to see that the video looks great. The keyword there is looks, as first time broadcasters can leave out focusing on the audio quality. It can be sad to see a really nice looking live stream only to have the viewer cringing as the audio is distorted or, even worse, just hard to hear at all which will leave the viewer frustrated and potentially abandoning the content.
So make sure to test your audio setup, check to ensure audio is coming through clear and that it’s audible. Do a volume check and watch out for background noise that might drown out the presenter or speakers.
#5: Know your upload speed
If you have never done a broadcast before, this can be something that is easy to overlook in terms of importance. It’s arguably one of the most important elements for a successful broadcast, as if someone doesn’t have an adequate connection they won’t be able to stream successfully in the first place.
In terms of what a broadcaster should be looking for, the important element to watch for is the upload speed. How much upload speed the broadcaster will need does depend on the quality they plan to broadcast at. A low resolution stream will naturally require a lot less upload speed than 4k streaming video. In terms of a general rule of thumb, try to aim for having an upload speed that it is twice what you plan to stream at. So if you plan to broadcast with a bitrate of 1.5 Mbps, aim for an upload speed of 3 Mbps. To test your connection speed, do what’s called a sustained speed test which will give a more accurate result for what you are dealing with.
#6: Secure a stable connection
Not only should you secure a fast upload speed, but also seek out a stable connection source as well. A wired connection is much better than a Wi-Fi source, for example. If you have to go wireless, make sure you get an idea of the performance of that connection from a sustained speed test. Also it can help to familiarize yourself with the connection first as well. Spend some time with it. What you are looking for is to make sure it doesn’t drop occasionally, which naturally will greatly disrupt if not ruin the broadcast.
#7: Backup Internet source
Three tips related to the Internet connection now, which hopefully stresses how important this aspect is for a successful live stream. Unfortunately, far too many streaming failures can be attributed to the connection at the venue.
We’ve touched on two tips for making sure there is an adequate connection, but all the same an ideal extra step is to arrange a backup source too. This is in particular if you are using a shared connection, which is unadvised as a shared connection could suffer congestion from others using it during the broadcast. This backup source can range, for example being a wireless source on a different network to the wired connection available. One effective tactic is to utilize a mobile hotspot. The advantage is then being able to transport this hotspot to other locations, for example from hotel venue to hotel venue. As a result, it can function as a backup plan for several different locations. PC Magazine has a “best mobile hotspots” list for 2017 for those interested in getting one.
#8: Stay organized
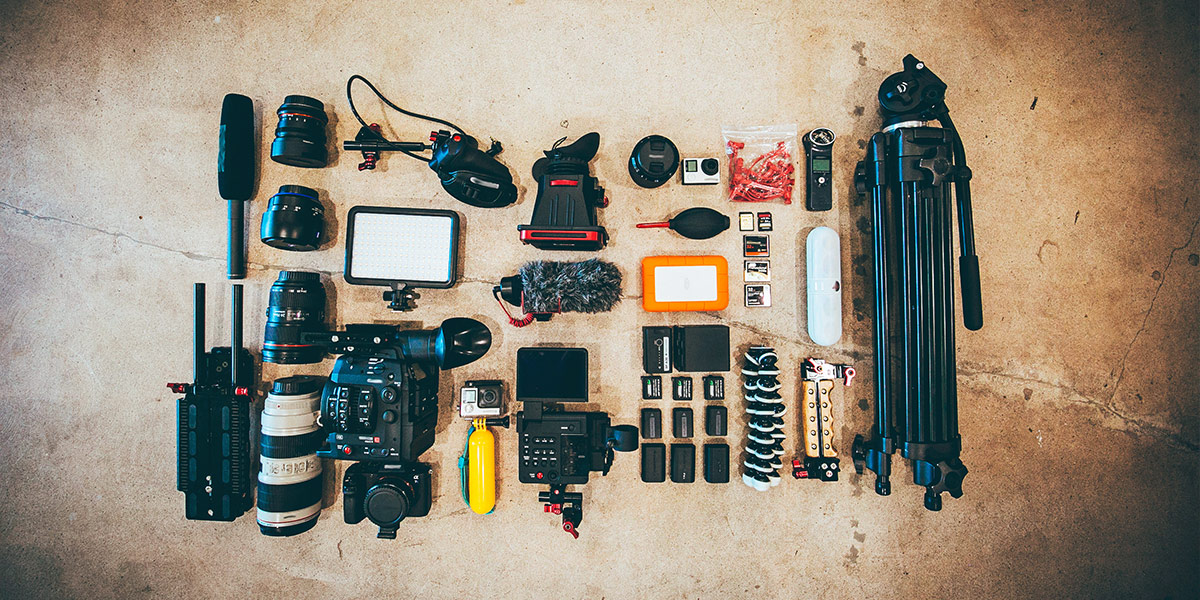
Backup equipment, cameras, wires connecting everything, it can be easy for a shoot location to get overwhelming. Professionals should stay disciplined, though, keeping things neat and organized. In particular there should be an emphasis on making that backup equipment easy to locate and setup if needed. This means being able to easily find a spare camera, for example, but also find the appropriate connections to quickly get it up and going if needed in a pinch.
#9: Promote your live event
Live streaming is a very engaging medium. It packs a lot of in the moment excitement due to the nature that anything can happen, while also benefiting from being the latest on a topic or event.
The downside to live streaming, though, is one of its strengths: that it’s in the moment. This means a live stream has a very small window to go viral, unlike an on-demand video which has days if not sometimes weeks after it’s been created to spread via word of mouth. As a result, a promotion strategy needs to be devised for your live event. Notifications on a home page, social media blitz, email campaign, sometimes even banner ads or Google AdWords spend can help to spread the word dependent on your budget. Ideally the end result should be a large audience anticipating and ready to watch when that broadcast goes live.
#10: Start your stream early

There are a couple of advantages to starting the live stream early. One is that it gives a last minute oppurtinity to work out bugs before the event starts. One final chance to do an end-to-end test before it really counts.
The other advantage is assuring people early on that the live stream is in fact happening. It’s very easy for a viewer to otherwise encounter the player right when the broadcast is about to start, see nothing, and then be flooded with uncertainty if they got the time zone right or if it was canceled. By having “pre-event” footage play, this gives them peace of mind that the event is happening.
In terms of that important question of “how early”, that can depend on the venue. Showing the field at a game before the event starts for 10-15 minutes can be a good early start. If you are doing a concert and can include an hour of engaging stage setup, go for it. That said, you’ll want to have some sort of pre-event notification taking place to communicate that this early footage isn’t the actual event. This can be a lower third saying that the event will start at a specific time, or even an announcer occasionally mentioning that the event hasn’t started yet and will start at a specific time.
#11: Make the live stream interactive
One advantage of live content is having a focused audience all at the same time and in real-time. As a result, this means content owners can take advantage and actually interact with the audience, or have the audience interact with each other. This can be done through including a chat or a Q&A with the video stream. Chats are a great way for viewers to build the excitement amongst each other, such as reacting to an event in the stream or responding to insight other viewers are providing. Q&A can make the live stream more personal, giving viewers a chance to participate and also make the content more relevant to them and, hopefully, others as well.
#12: Utilize a CDN or CDNs to deliver your video
Camera setup? Tested microphones? Three point lighting? Trailed encoder? Good upload speed? As you are checking off things preparing for your broadcast, also consider the delivery aspect as well.
Video content, especially live content, can attract a lot of viewership in a short amount of time. If your solution isn’t prepared for this it can lead to issues, worst of which are outages. So when selecting a service make sure they are battle hardened here. Ideally they should be employing a CDN (Content Delivery Network) if you aren’t going directly to one. This should be the bare minimum, although some services go a step beyond like using multiple CDNs as part of their delivery component. Try to get more details about your providers delivery methods before committing to them, asking for a document like this white paper, Live Video Delivery Built for Scalability, that IBM Watson Media provides to document its SD-CDN (software defined content delivery network) solution.
#13: Prepare for an on-demand version
Live streaming makes for engaging content. A sense that anything could happen, which raises the excitement level.
Despite this, though, broadcasters shouldn’t lose sight of also providing an on-demand version. This can be considerate to people in different timezones, for whom the original broadcasting time might have conflicted, or just give an audience an oppurtinity to watch again. For example, maybe relive a certain part of a game they really enjoyed, or rewatch a segment of training material to make sure they comprehend it.
#14: Record a local copy
Many live services, like IBM’s video streaming offerings, have auto archiving. This is a feature that automatically stores an on-demand version in the cloud following the broadcast. This is a great way to improve the viewing experience, as transition time between the live broadcast and watching the on-demand version can be minimal, servicing people who might have watched 90% of a live stream but want to catch the part they missed after it’s over.
Regardless of the benefits of auto archiving, though, it’s still recommended to record a local copy. The reason for this is to help prepare for the unexpected. For example, let’s say the Internet connection is lost at your venue. Thankfully you planned accordingly and have a backup, but let’s say it takes several minutes to switch over to it and that’s several minutes of content you are missing. Rather than live with an auto archive that is incomplete because of the loss in connection, the on-demand version can utilize the locally recorded copy instead, which ideally was setup in a way that it was not impacted by the disruption in the Internet connection.
#15: Create post event highlight clips
Your broadcast is over, it was a success, and now you have a compelling on-demand version at your disposal. This doesn’t have to be the end, though, nor should it be. Another step that content owners can do is start to use the event for promotion through the creation of highlight clips. That promotion can either be to drum up enthusiasm for a future upcoming live stream or to increase interest in watching the on-demand version.
To achieve this, IBM’s video streaming services have a feature that can be used to create new VODs from segments of existing VODs. Once created, these clips can then be easily exported to YouTube as well to help spread the word and get more eyeballs on the desired long-form content.
Summary
These streaming tips should help take your video skills to the next level, improving your technique while getting familiar with the level of preparation required before your live broadcast begins. One of the reoccurring themes should be amble testing as part of the overall process.
Looking for some more tips and settled into the idea of using IBM’s video streaming or enterprise video streaming offerings? If so, watch this archived webinar on Getting Started With IBM’s video streaming services.