Planning to live stream? Considering using your mobile device to do it?
With a smartphone in your pocket, you’ll always have a video ready device close at hand. However, capturing great video for a live stream isn’t always as simple as pointing and shooting. Here are some tips to avoid subpar video quality and a guide on how to live stream from your smartphone or tablet.
- Framing and stabilizing
- Lighting
- Audio
- Connection and hotspots
- Testing
- Power usage and external batteries
- Enable “Do Not Disturb” mode
- Live broadcasting app
Framing and stabilizing
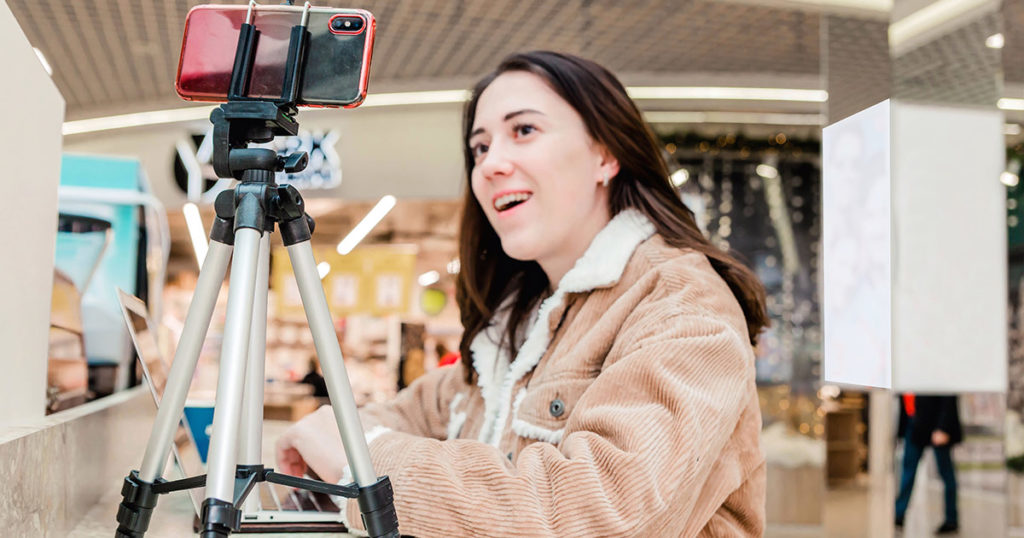
Nothing says unprofessional like footage that is bouncing up and down. As a result, you should prioritize securing a steady shot. Placing your phone or tablet onto a stand or tripod is a great solution for this. A gimble, essentially a stabilizer for a device to aid in creating steady video content, can also be a solution here for something that’s a bit more flexible but can still stabilize the frame. In addition for phones also position it horizontally, as “widescreen” is preferable for most video.
Next consider framing in the shot. If it’s a single presenter, a mid-shot from the torso up can work well. If it’s multiple presenters or a lot of movement, a full body shot can work. Make sure to leave enough room for the head, as that should not be cut off in the frame.
Lighting
Lighting can be the unsung hero of video. It’s easy to discount it, but a great lighting setup can really elevate the overall quality of the broadcast. If you want to really “do it right” and you have the luxury of being able to bring lighting or control lighting, consider a three-point lighting setup. This is a light to the left and right of the presenter, to prevent unflattering shadows, while a third light illuminates the background for depth.
Alternatively, consider purchasing one of the inexpensive ring lights available on Amazon or similar sites. You’ll be surprised at how big of a difference these can make! And if you don’t have time to purchase anything, just pointing any light source towards the subject matter can help. Even positioning yourself, if you are the subject matter, near a window for natural light can work. That said, avoid having a large lighting source behind you, such as a window, as this can create a talking silhouette scenario.
Audio
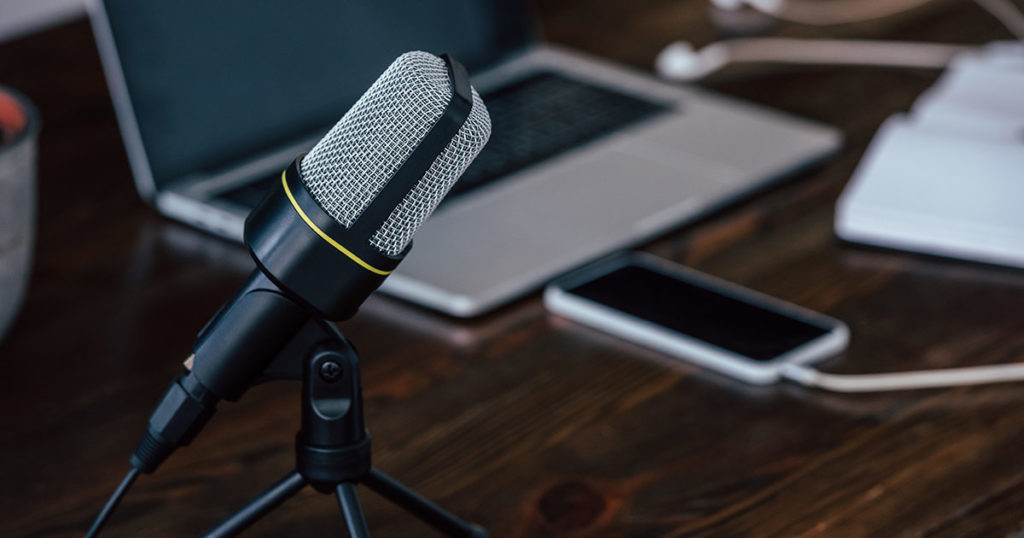
This can be the biggest challenge for live streaming over a mobile device. In general, an external audio device is greatly preferred, as your onboard microphone can capture intrusive background noises.
If you are doing more of an interview, a lavalier microphone that you can connect to your mobile device can work wonders. These can clip onto the presenter to pick up their audio.

Often times you’ll have less control over your environment. In these scenarios an external microphone like above that you can position is very beneficial. If the presenter is setup on a stage, try to get the microphone as close as possible to the subject. A directional microphone, sometimes referred to as a shotgun mic, can be key here. These can be hand-held, like the Sennheiser HandMic Digital or the cheaper IK Multimedia iRig Mic HD 2, and certain ones can plug right into a iPhone or Android device.
If you cannot use any sort of external microphone and you are the presenter, make sure your smartphone is positioned as close to you as possible. In addition, try to have eliminated as much background noise as possible. For example, turn off your heater or air conditioner while you are live streaming, and of course silence all phones.
Connection and hotspots
Internet connection is crucial for all live streaming. A poor connection from the broadcaster will generally result in a poor viewer experience.
When broadcasting video, a high upload speed is required. Test your broadcasting location early or even a day in advance. Run a speed test to gauge your connection. A good rule of thumb is try have twice the upload speed that you plan to stream at. Ideally, you’ll want 3Mbps or more when streaming from your home.
It’s recommended to have a backup Internet source as well. This can be a WiFi connection waiting for you, although ideally not shared or at least not public. Another backup source can be a dedicated hotspot, especially if you plan to do a number of live streaming events using your mobile device. These require a data plan from a carrier, such as AT&T or Verizon, with prices varying based on data. If budget and hassle are less of a concern, it can be beneficial to go with a carrier that is different from your regular smartphone carrier. The reason being that providers can differ in terms of coverage, with one stronger in a geographic area versus another. So if you find you are having issues with one provider, another might be your saving grace in that same location. As for choosing a dedicated hotspot, here is an article ranking several choices.
Testing
While checking your connection speed, you should also try to do a test stream for reasons other than just the connection! Replicating as much of the event, such as location and similar lighting situations, is ideal. This can help you identify issues in advance and correct for them. For example, if you notice that your connection is not reliable, as it drops in and out, this is your sign that you need a WiFi connection or a hotspot. You may also notice that the lighting for your setup is poor and that your subject matter is getting washed out from a light source. A solution could be to change angles to see if you can capture them better.
Power usage and external batteries
Devices are getting thinner, faster and have bigger screens. While there have been advancements in built-in batteries, broadcasting can be resource intensive and still require a bit more juice to power it.

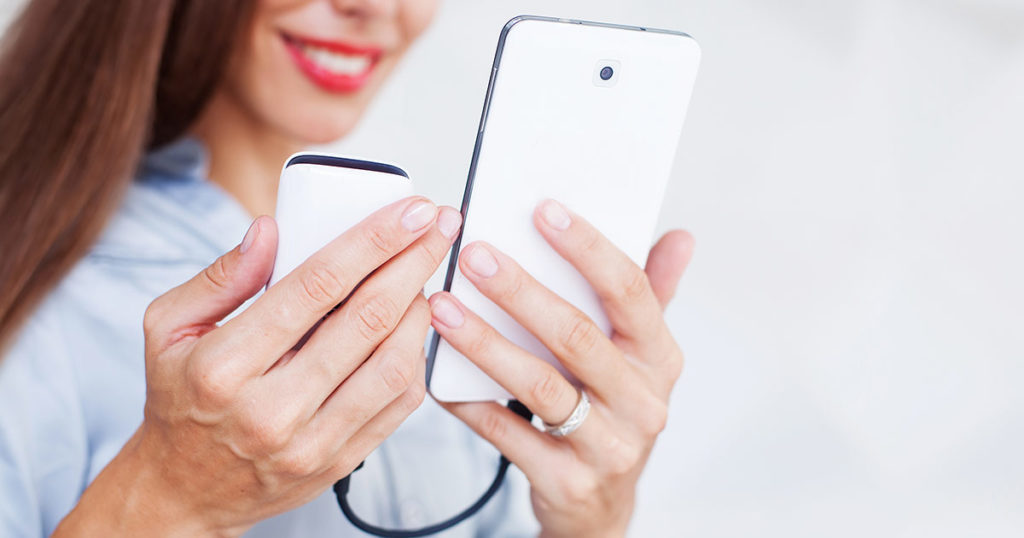
As a result, it’s advised to have an alternate power source available rather than just an internal battery. The ideal scenario is being plugged into an outlet. This can be restrictive or even impossible to accommodate, though, depending on setup. An alternate approach is to have an external battery pack at the ready. There are a lot of options here, such as products from Uni-Yeap or something from the Anker PowerCore line. Be sure, though, to bring the correct connection for your phone or tablet to the battery. In addition, test the battery ahead of time and make sure it’s charged before the event as well.
Enable “Do Not Disturb” mode
iOS and Android devices have a “Do Not Disturb” mode. This silences calls and general notifications on your phone. As a result, it allows you to focus on the broadcast and what’s visible on screen and not have to worry about an incoming call for example. However, it does not stop alarms from going off, so make sure you haven’t set an alarm that will go off during the broadcast.
Check here for setting up “Do Not Disturb” on your iPhone or iPad. Check here for setting it up on your Android device.
Live broadcasting app
The final step in the process, or perhaps one of the first, is selecting a “medium”. This is how you’ll actually use your mobile device to broadcast a live video stream.
At IBM, a mobile live streaming app is provided with IBM Video Streaming accounts. This can be downloaded to the iOS or Android device that will be used for streaming. The app allows someone to log into an account, using an IBM ID, so that they can live stream directly to a channel. Various settings, such as quality or selecting a camera source, are also included. Once downloaded and logged in, the user can quickly select a channel a start streaming everything from training sessions to presentations.
This app can be downloaded through the Google Play Store or via the Apple App Store.
Note: free trials are available for IBM Video Streaming. However, trial accounts will not be able to use the mobile live streaming app. A regular account is required for this. That said, there is a browser based encoder that is included with all accounts. While it’s not the same as the mobile app, it can allow you to utilize a laptop with a built-in webcam. This is available on the trials, and can work for testing a quick broadcast that you do yourself.